STEP 1: Prep Your Hair.
Ensure your hair is dry and styled as usual. You can wear your hair down or in an updo, depending on the look you want to achieve with the topper.
Due to increased US tariffs, a surcharge will be applied at checkout. The fee is based on the item Retail price.
No results found for ""
Popular Searches
30 shades
Add Ons
Solution Fill-Ins
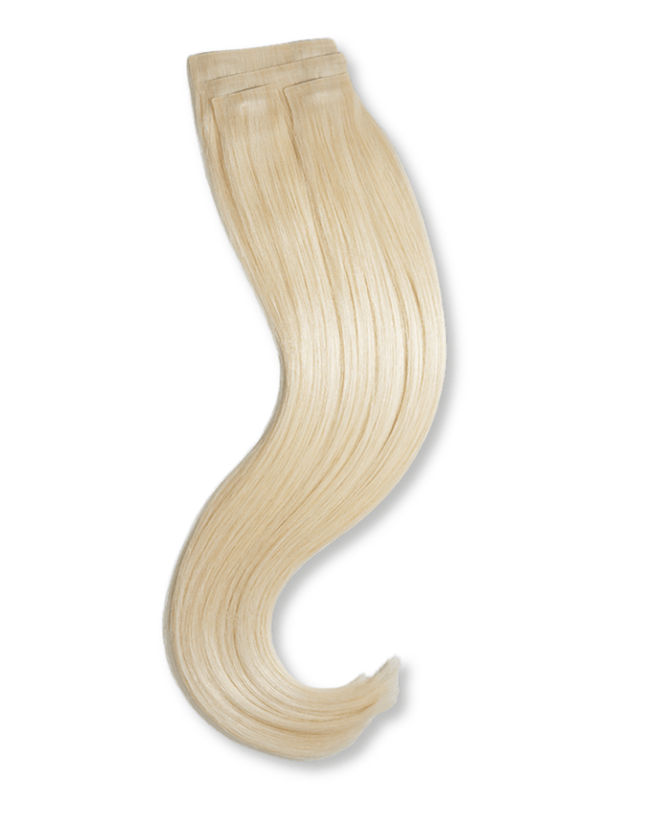
Platinum Clearest Blonde | #60
$175.00
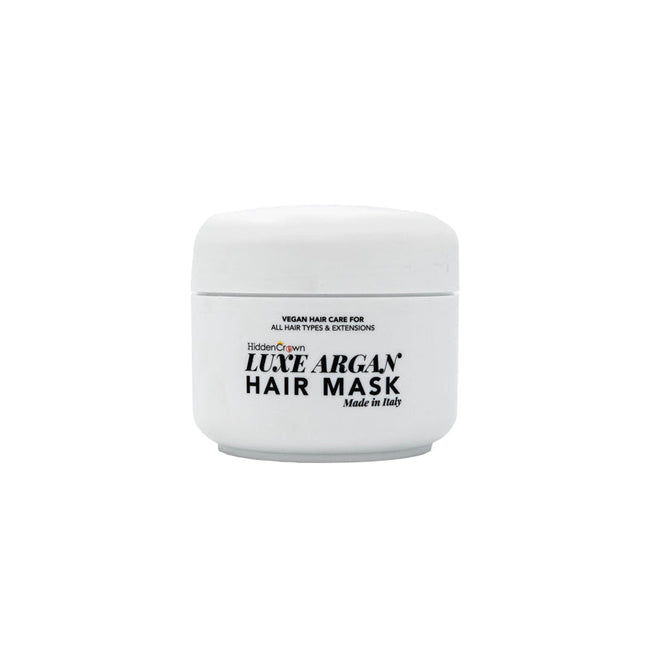
Luxe Argan Hair Mask
$12.49
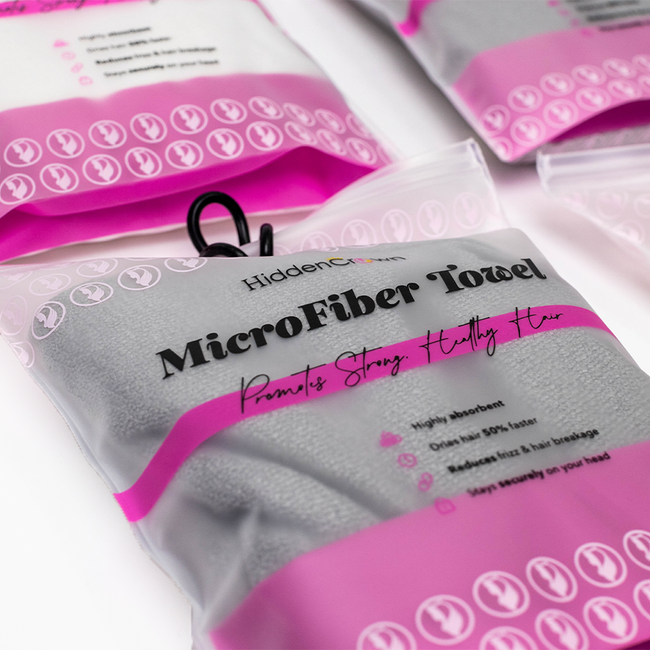
Hidden Crown Microfiber Towel
$6.80
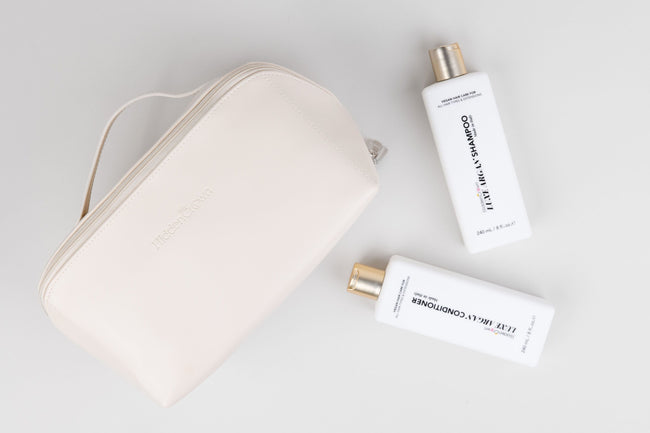
Cosmetic Bag with Luxe Argan Shampoo and Conditioner
$50.00
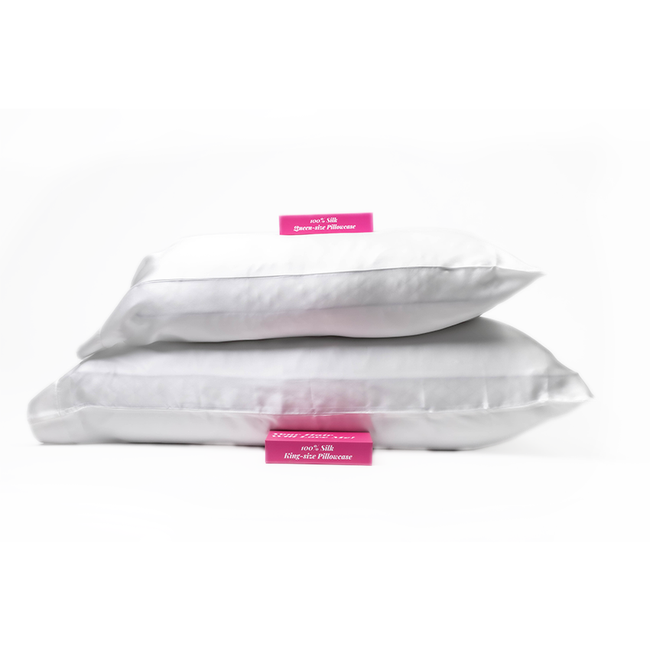
100% Mulberry Silk Pillowcase
$20.00
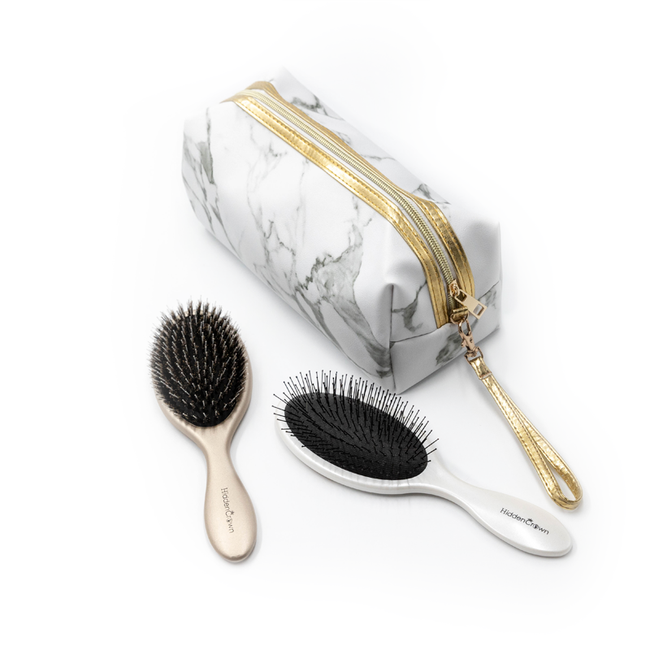
Hidden Crown Brush Set
$30.00
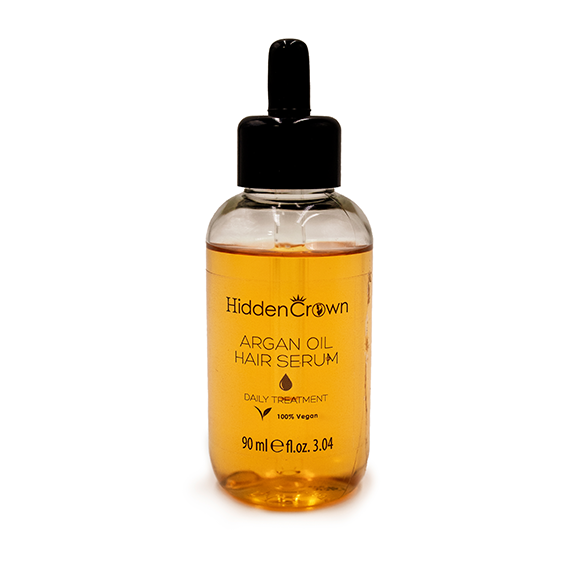
Argan Oil Hair Serum
$15.99
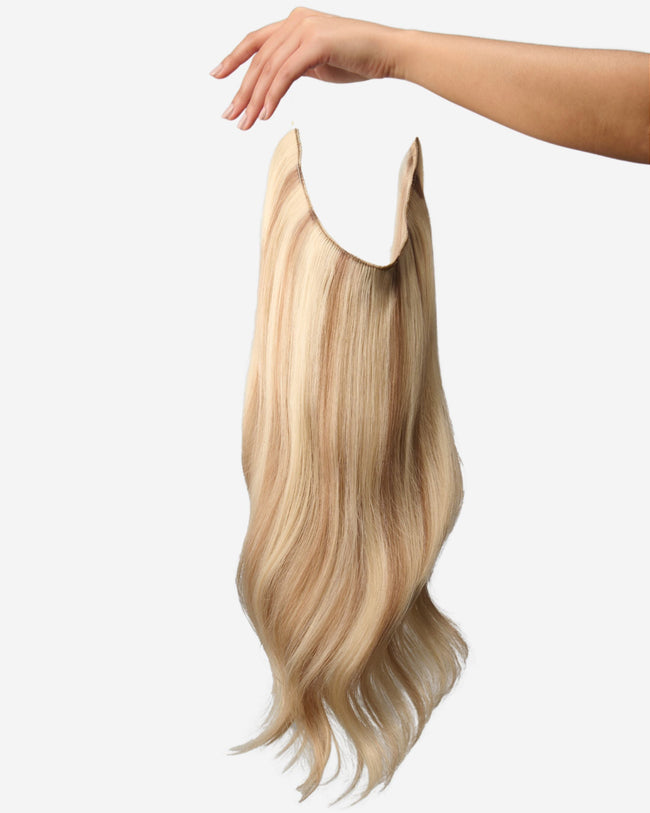
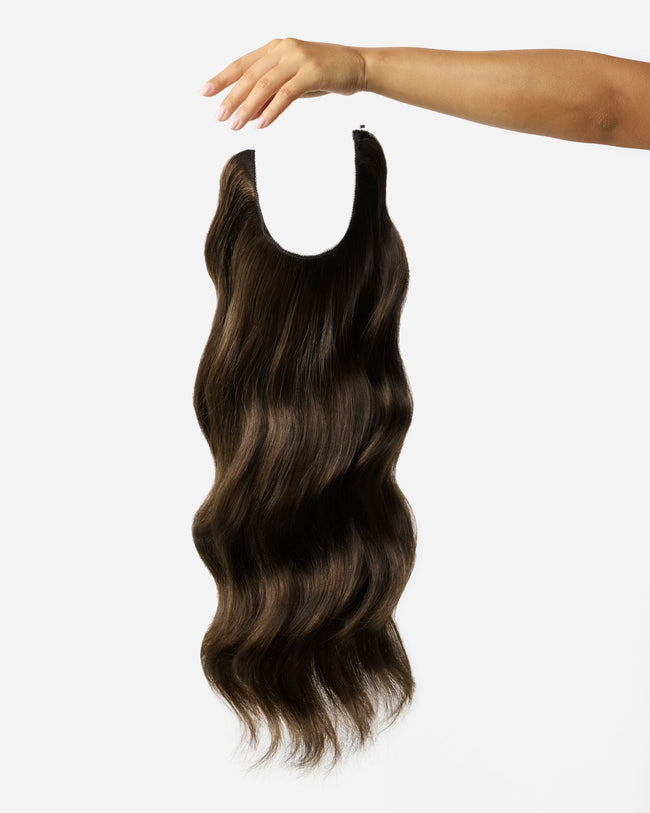
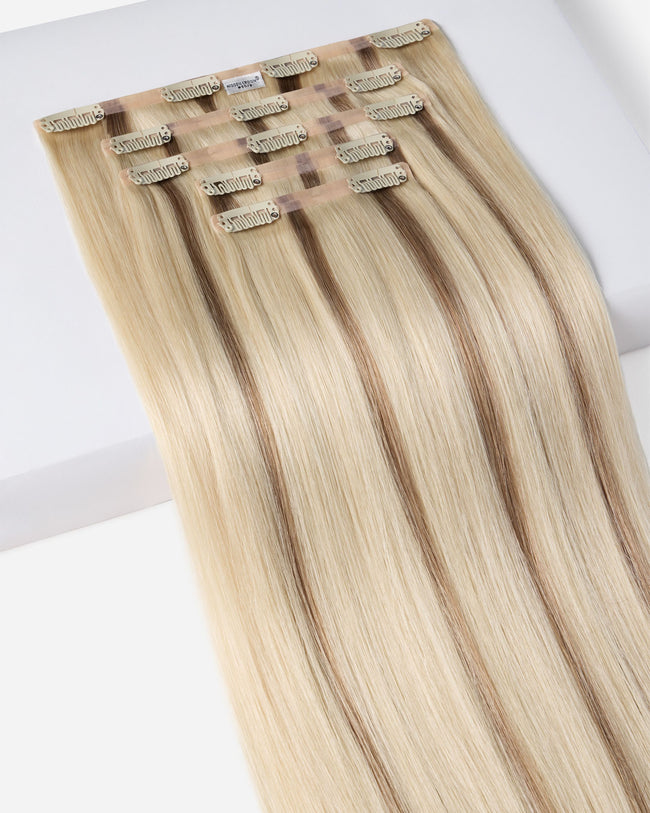
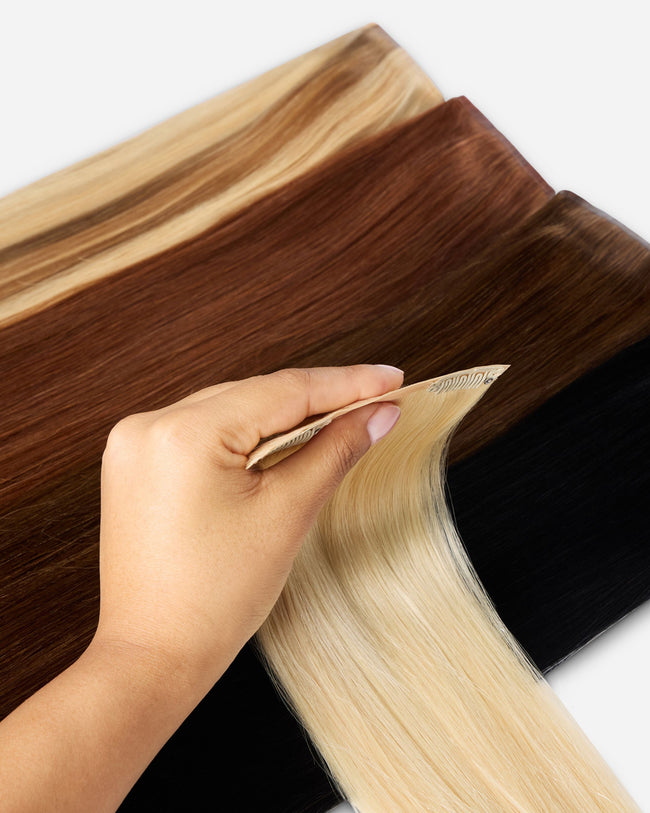
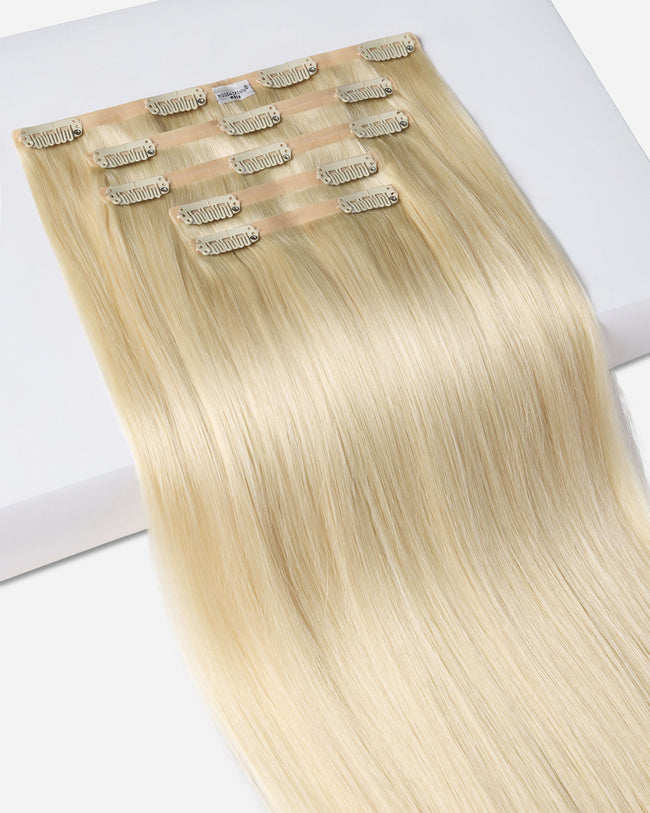
The Hidden Crown Topper® collection is designed to provide instant volume and coverage for thinning hair, especially around the crown and parting areas.
Available Styles
Original Topper:
Mini Topper:
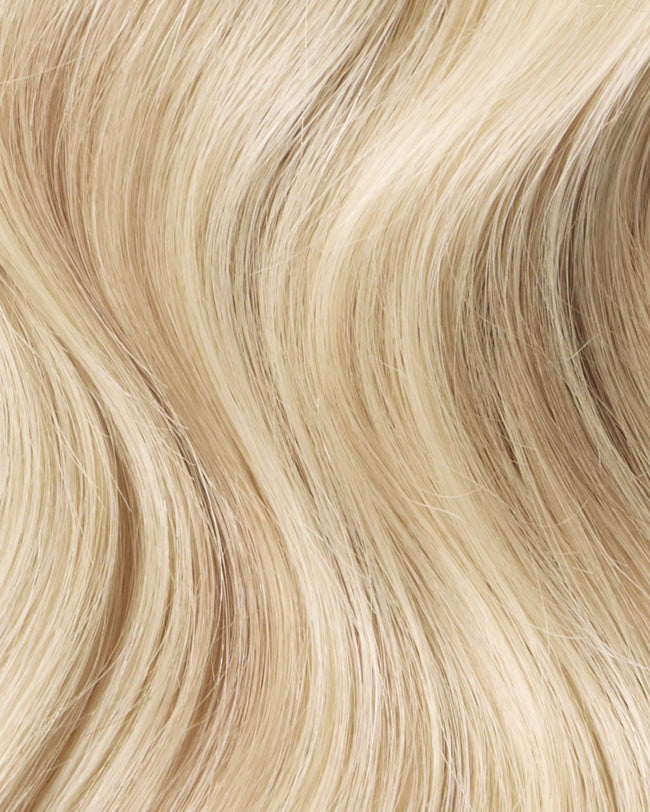
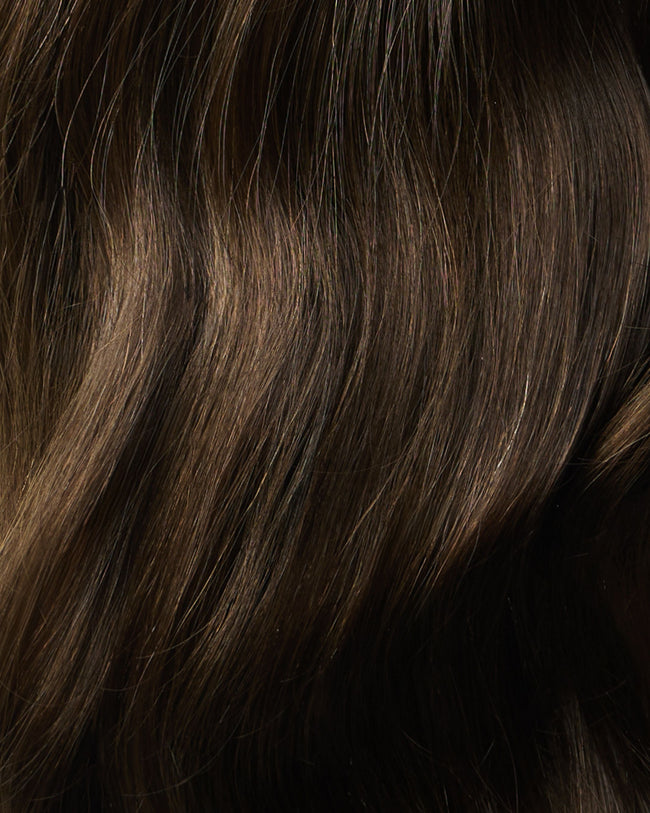
Made from 100% Remy human hair, these toppers blend seamlessly with your natural hair to create a fuller, more voluminous look.
Whether you're dealing with hair thinning, hair loss, or just want to enhance your style, our Crown Toppers® give you the natural boost you need without any damage. Available in a variety of lengths, shades, and styles, they offer a flawless, undetectable finish that’s perfect for daily wear or special occasions.
Each order includes a thoughtfully curated kit, providing everything you need to style, store, and maintain your Topper with ease and elegance:
Hidden Crown proudly offers free domestic shipping, and any order placed before 3 pm MST will be shipped the same day. Please note that orders are not shipped on weekends or national holidays. You can expect to receive your order within 3-5 business days.
For international orders, customers are responsible for any duties and fees upon delivery.
You have the right to return your product for a refund or color exchange, provided that you contact us within 30 days from the day on which you receive your Hidden Crown® and they have not been worn, and the seal, hangtag, or zip ties have not been broken. Otherwise, the product will not be eligible for a refund or exchange.
This also means that you can’t fully try on the hair –even briefly! If you remove the hair and remove the two zip ties that tie it up, it is ineligible for return. You can always reach out for help color-matching your extension.
If an item is determined to be used or tampered with, you will be notified via email and your order will be returned to you as a courtesy.
Returns must be requested within 30 days of receipt of delivery.
For more details about our return policy click here.
HOW TO PREP YOUR CROWN TOPPER
Once you receive your Crown Topper, it’s essential to prep it for the best results. For directions on how to properly prep your topper, please refer to this video
HOW TO APPLY THE CROWN TOPPER
STEP 1: Prep Your Hair.
Ensure your hair is dry and styled as usual. You can wear your hair down or in an updo, depending on the look you want to achieve with the topper.
STEP 2: Position the Topper.
Take the topper and place it over the crown area where you want to add volume or coverage. The front edge of the topper should align with your natural hairline or slightly behind it, depending on your preference.
STEP 3: Secure with Clips.
Gently lift the topper and open the clips. Start by clipping the front section of the topper first, securing it close to your hairline. Press down on the clips until they snap shut, ensuring they grip your natural hair securely.
Repeat this for the clips on the sides and back to ensure an even and secure fit.
STEP 4: Blend and Style.
Use a comb or your fingers to blend your natural hair with the topper, ensuring there are no visible seams or clips.
You can further style the topper by curling or straightening it, just as you would with your natural hair.
STEP 5: Adjust for Comfort.
Tug gently on the topper to make sure it feels secure and comfortable, and make any necessary adjustments to the clips or positioning for a natural look.
For a step-by-step walkthrough, refer to this video
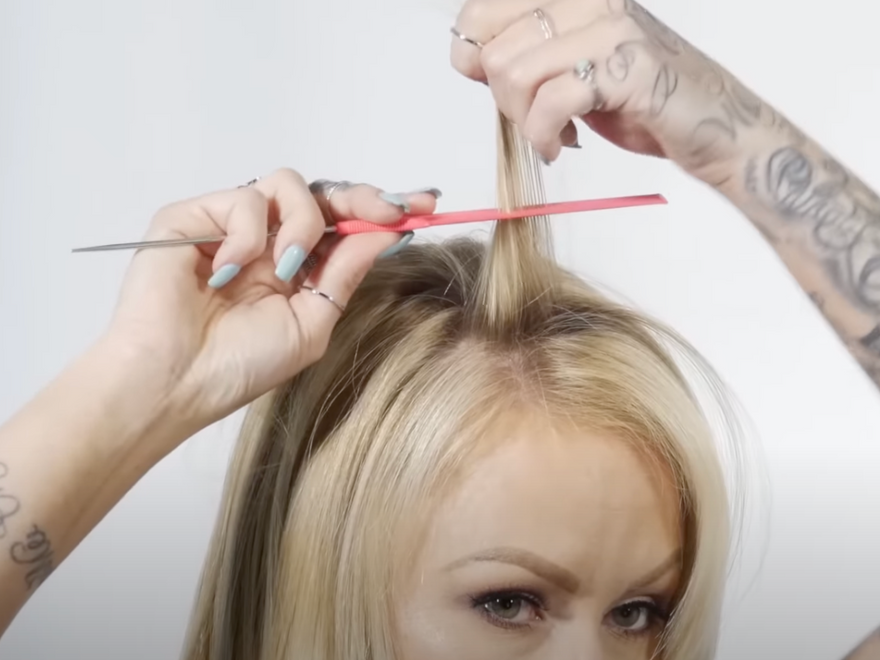
STEP 1: Prep Your Hair.
Ensure your hair is dry and styled as usual. You can wear your hair down or in an updo, depending on the look you want to achieve with the topper.
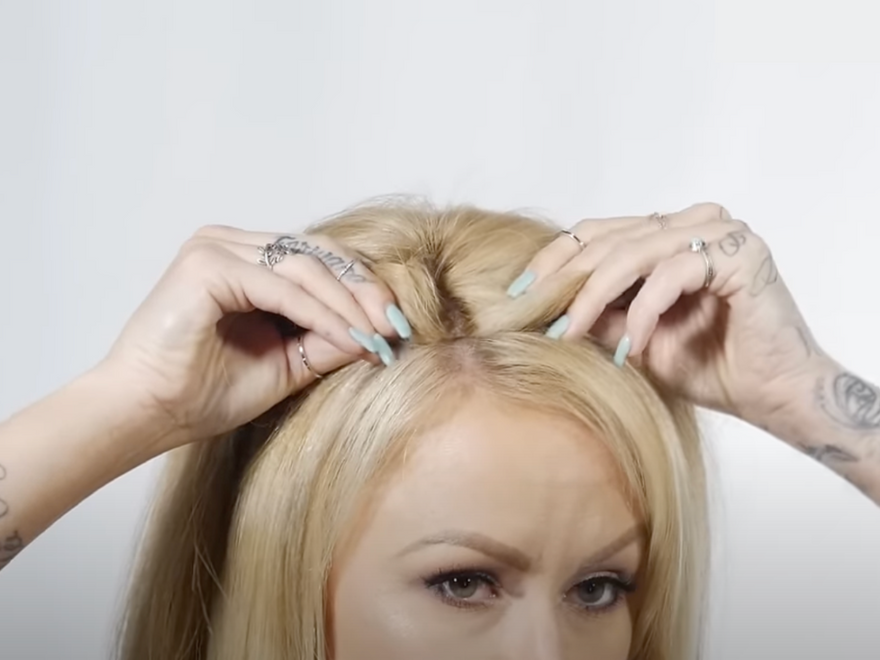
STEP 2: Position the Topper.
Take the topper and place it over the crown area where you want to add volume or coverage. The front edge of the topper should align with your natural hairline or slightly behind it, depending on your preference.
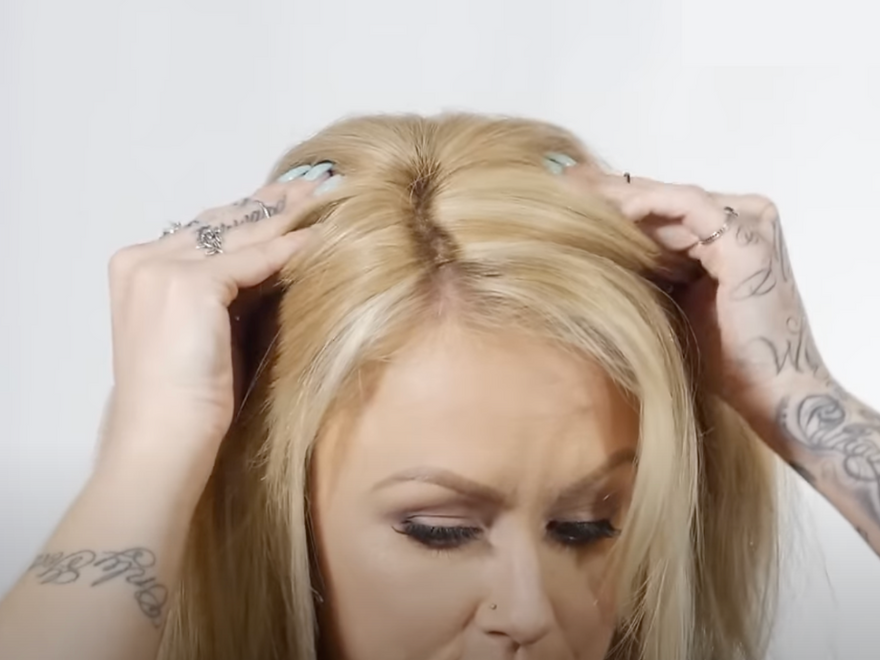
STEP 3: Secure with Clips.
Gently lift the topper and open the clips. Start by clipping the front section of the topper first, securing it close to your hairline. Press down on the clips until they snap shut, ensuring they grip your natural hair securely. Repeat this for the clips on the sides and back to ensure an even and secure fit.

STEP 4: Blend and Style.
Use a comb or your fingers to blend your natural hair with the topper, ensuring there are no visible seams or clips. You can further style the topper by curling or straightening it, just as you would with your natural hair.
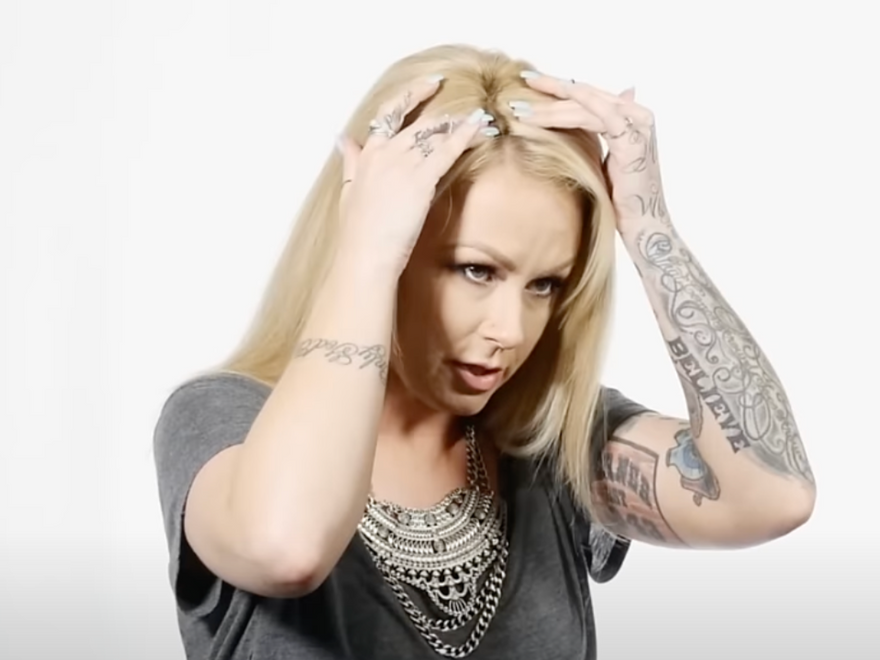
STEP 5: Adjust for Comfort.
Tug gently on the topper to make sure it feels secure and comfortable, and make any necessary adjustments to the clips or positioning for a natural look.
See it in action
